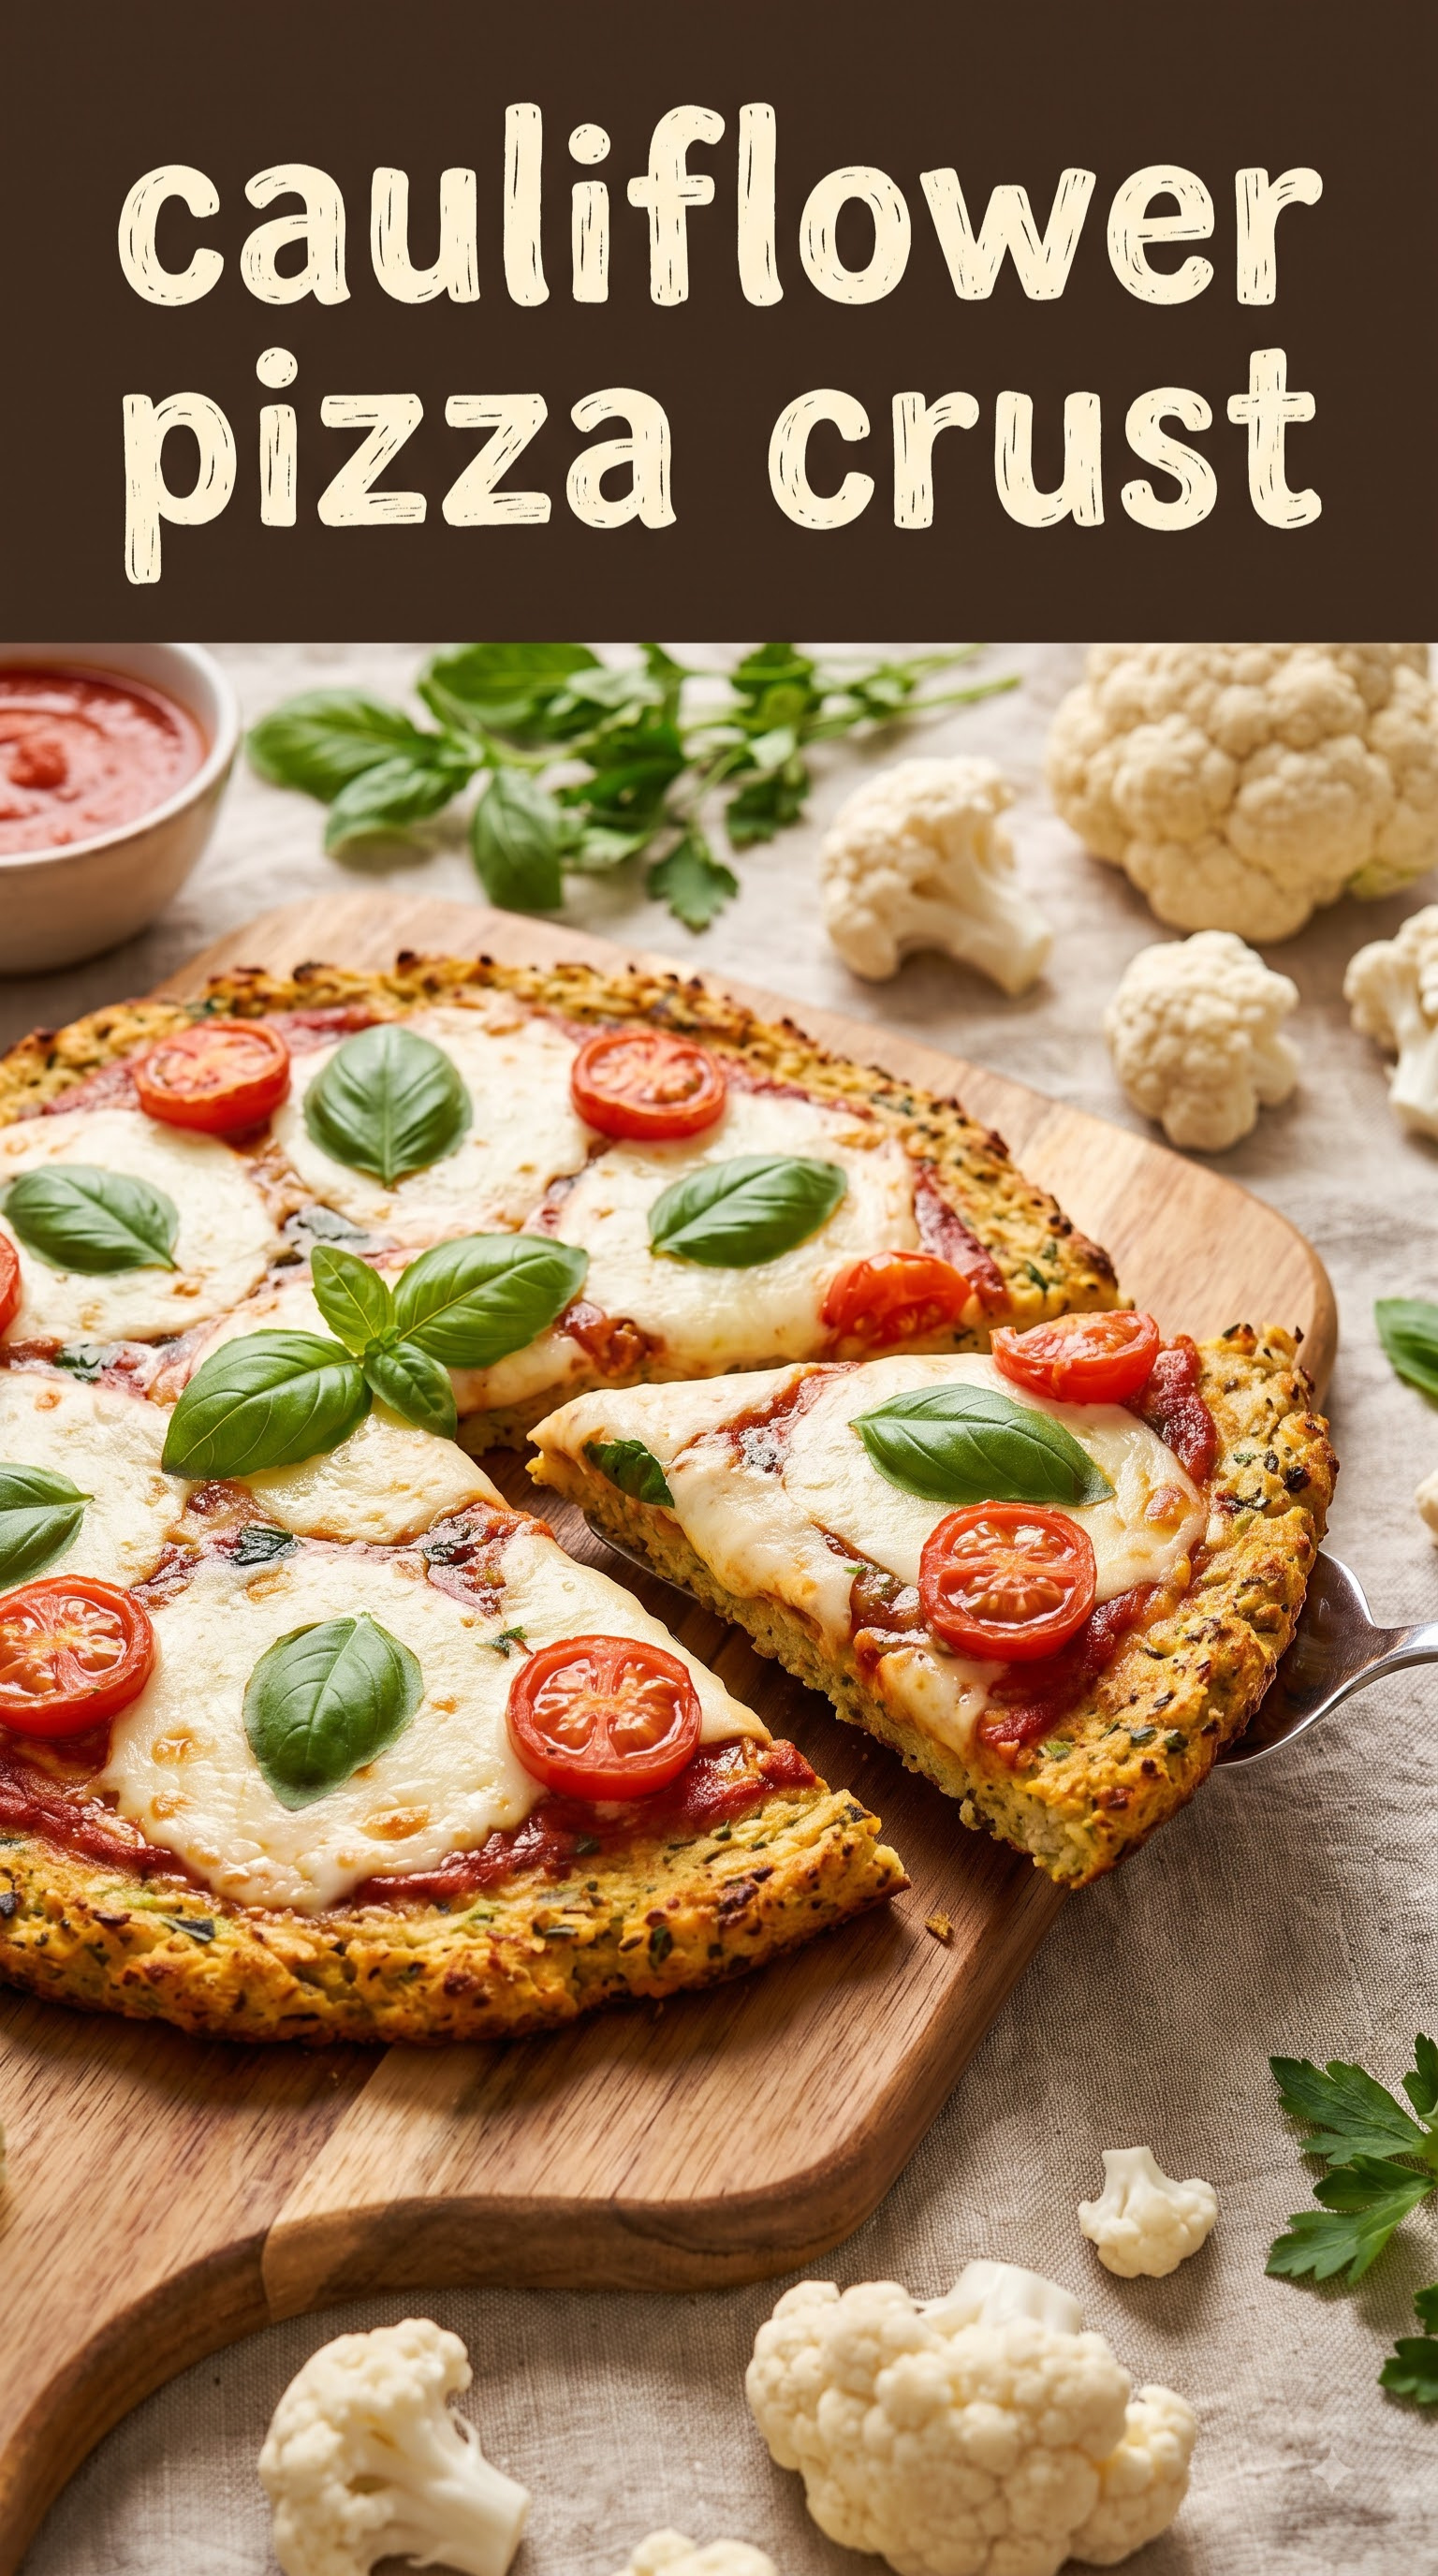
cauliflower pizza crust

cauliflower pizza crust

Cauliflower pizza crust lets me serve “pizza night” without pretending vegetables magically became fun. I pulse cauliflower, squeeze it dry, mix in cheese, and bake until crisp. My husband still asks where the real crust went. My picky child focuses on toppings. I call that a perfectly acceptable family compromise tonight.

This cauliflower pizza crust creates a sturdy, cheesy base with crisp edges and a tender center. Remove as much moisture as possible for better structure. Bake before adding toppings, then return it to the oven for a golden finish. Customize with herbs, spices, cheese, or favorite pizza toppings easily.
cauliflower pizza crust
Judy John

Cauliflower Pizza Crust

A sturdy cauliflower pizza crust with crisp edges and a cheesy, tender center. Bake the crust first, then add your favorite toppings for homemade pizza night.
Prep Time 20 minutes
Cook Time 35 minutes
Total Time 55 minutes
Servings: 4 slices
Course: Main Dish, Snack
Cuisine: Italian
Calories: 285

Ingredients
  

Cauliflower Base
  • 1 large head (700 g) cauliflower — cut into florets
  • 1 large egg (50 g)
  • 1 cup (100 g) shredded mozzarella cheese
  • 1/4 cup (25 g) finely grated Parmesan cheese
  • 1 teaspoon (3 g) dried Italian seasoning
  • 1/2 teaspoon (1.5 g) garlic powder
  • 1/2 teaspoon (3 g) salt
  • 1/4 teaspoon (0.5 g) black pepper
Pizza Toppings
  • 1/2 cup (120 g) pizza sauce
  • 1 cup (100 g) shredded mozzarella cheese
  • 1/2 cup (75 g) sliced bell pepper
  • 1/4 cup (35 g) sliced red onion
  • 1/4 cup (25 g) sliced olives — optional
  • 1 tablespoon (15 g) chopped fresh basil — optional

Equipment

  • Food Processor
  • Mixing Bowl
  • Microwave
  • Clean Kitchen Towel
  • Baking Sheet
  • Parchment Paper
  • Measuring Cups
  • Measuring Spoons
  • Spatula
  • Oven
  • Wire Rack

Method
 

  1. Preheat the oven to 220°C (425°F). Line a baking sheet with parchment paper and lightly grease the parchment.
  2. Pulse the cauliflower florets in a food processor until they resemble fine rice. Avoid processing until the mixture becomes wet or pasty.
  3. Microwave the cauliflower rice for 5 to 6 minutes until tender. Let it cool enough to handle comfortably.
  4. Transfer the cauliflower to a clean kitchen towel. Gather the towel tightly and squeeze repeatedly until you remove as much liquid as possible.
  5. Place the dry cauliflower in a mixing bowl. Add egg, mozzarella, Parmesan, Italian seasoning, garlic powder, salt, and pepper. Mix until evenly combined.
  6. Spread the mixture onto the prepared baking sheet. Shape it into a thin, even round or rectangle about 1/4 inch thick, keeping the edges slightly thicker.
  7. Bake for 20 to 25 minutes, until the crust turns golden and feels firm enough to lift carefully.
  8. Remove the crust and let it rest for 5 minutes. Carefully flip it onto a fresh sheet of parchment for extra crispness, then bake another 5 minutes.
  9. Spread pizza sauce over the baked crust, leaving a small border. Add mozzarella, bell pepper, onion, olives, and basil as desired.
  10. Return the pizza to the oven for 8 to 10 minutes, until the cheese melts and the edges become deeply golden.
  11. Cool for 5 minutes before slicing. Serve warm, using a sharp knife or pizza cutter to keep the crust intact.

Notes

Moisture control makes or breaks cauliflower crust. Squeeze the cooked cauliflower aggressively; excess water causes a soft, fragile base. For a softer crust, shape it slightly thicker and avoid the final flip. For a crispier crust, spread it thin, remove as much moisture as possible, and bake until deeply golden. Let the base rest before adding toppings so it firms up. Customize with oregano, basil, chili flakes, smoked paprika, cheddar, or Parmesan. Keep toppings light because heavy, watery ingredients can soften the crust. Assemble and bake immediately for the crispest result. For freezing, bake the plain crust completely, cool it, wrap tightly, and freeze for up to 2 months. Thaw before adding toppings and reheating. Store leftover baked pizza in an airtight container in the refrigerator for up to 3 days and reheat in an oven or air fryer to restore crispness. Avoid microwaving if you want the crust to stay firm.
Similar Posts

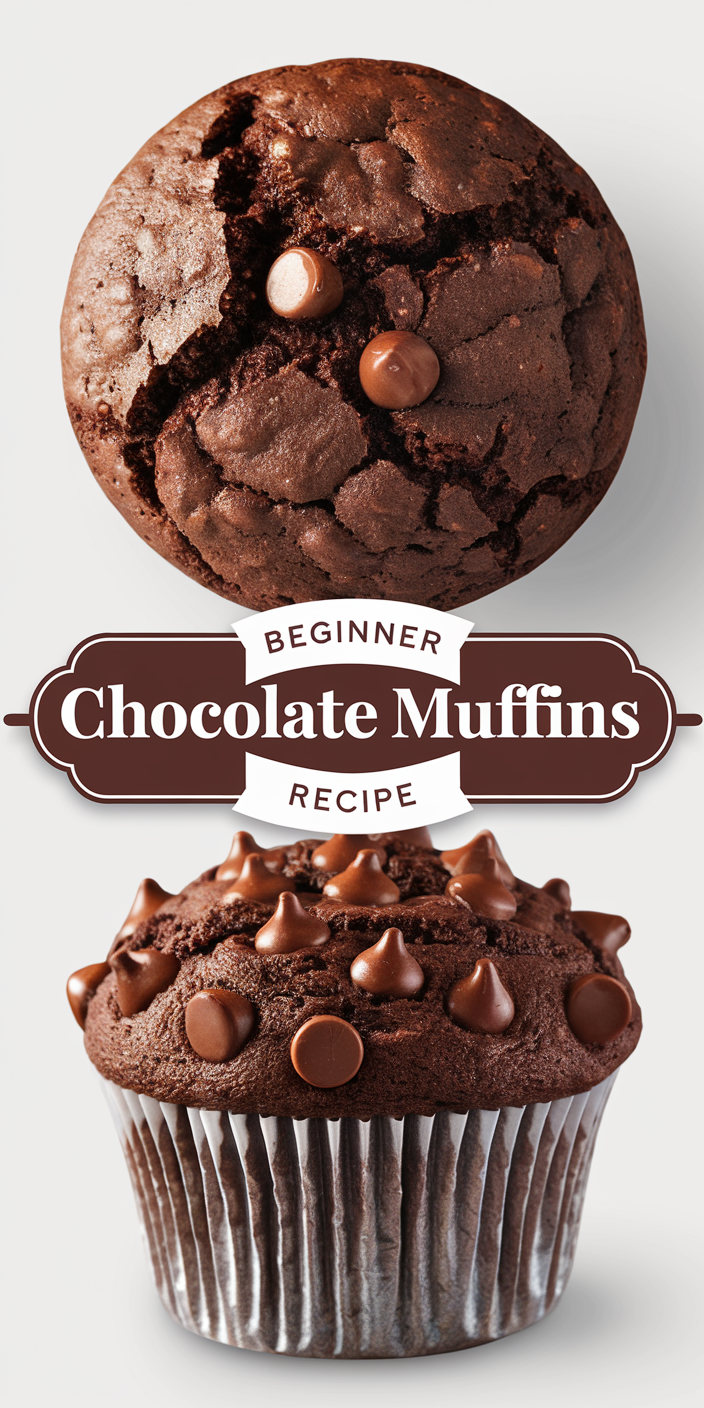
  • Beginner Chocolate Muffins Recipe

    Beginner chocolate muffins rescue sleepy mornings when everyone suddenly expects bakery-quality breakfast without offering dishwasher assistance first. These fluffy muffins bake quickly, taste ridiculously chocolatey, and disappear before backpacks reach the car. My husband grabs extras immediately, while my picky child suddenly loves mornings once warm chocolate muffins appear beside cartoon-shaped napkins at breakfast daily….

  • How To Prevent Icing Bleed

    Icing bleed turns beautiful cookies into accidental watercolor projects. Ask me how I know. Thankfully, a few simple tricks keep colors where they belong. My husband notices vibrant designs. My picky child notices everything. These practical tips help create crisp decorations without unnecessary frustration, guesswork, or cookie-related disappointment. Color bleed usually comes from moisture, timing,…

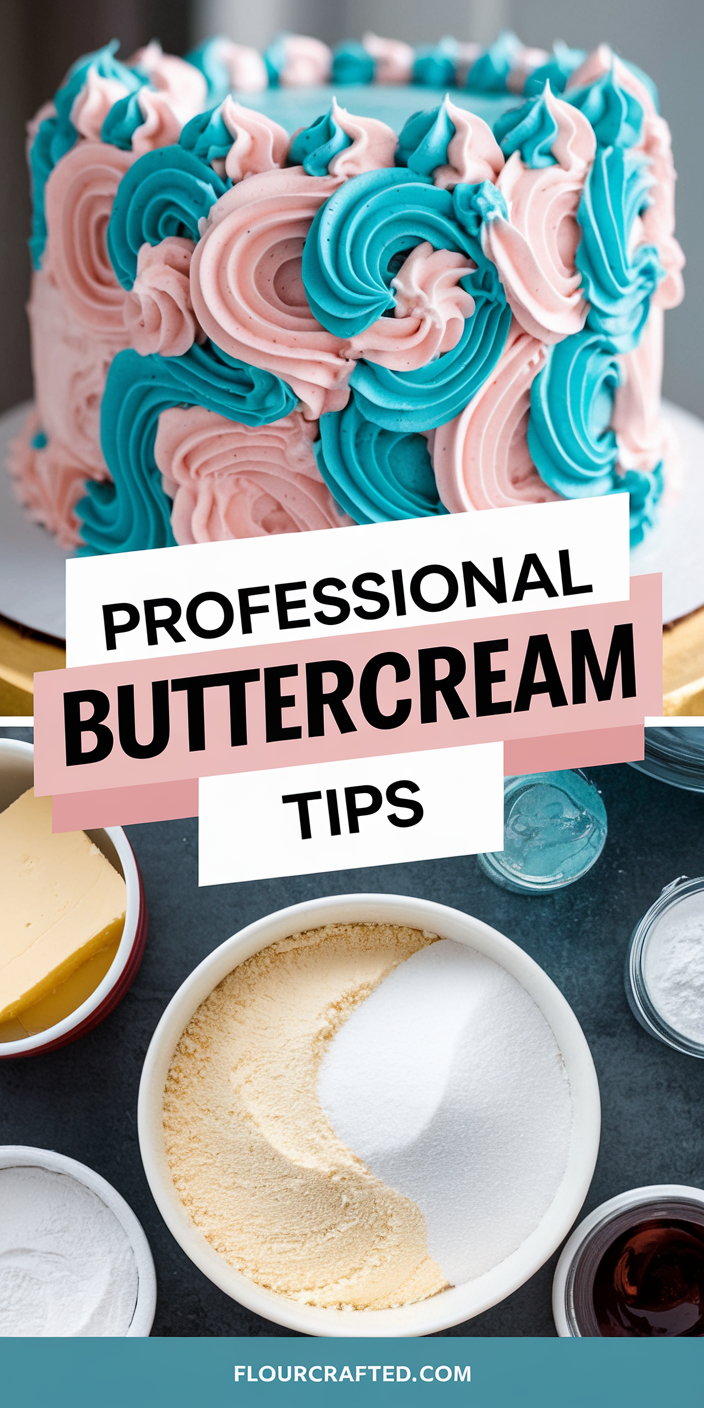
  • Professional Buttercream Tips

    Professional buttercream looked intimidating until family birthdays forced practice. Now I use simple tricks that save frosting from meltdowns and lopsided swirls. My husband requests towering cakes. My child inspects every sprinkle like management. These professional buttercream tips deliver smoother texture, cleaner piping, and less kitchen drama for busy moms. These professional buttercream tips focus…

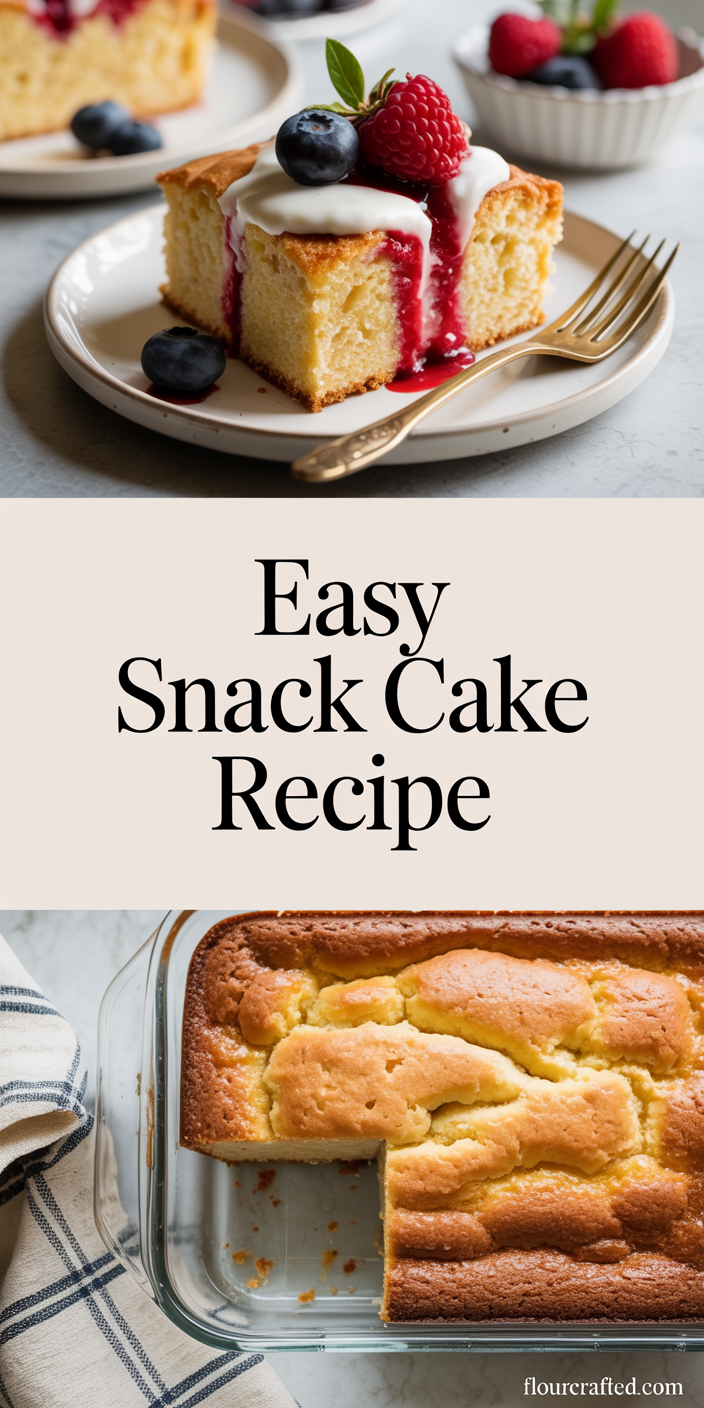
  • Easy Snack Cake Recipe

    Easy snack cake rescues chaotic afternoons when my picky child suddenly rejects every reasonable snack option available. My husband slices giant squares like surviving meetings deserves buttery dessert therapy daily. I stir pantry basics into fluffy cake, bake one pan, and magically restore household peace. Conveniently, crumbs still appear inside couch cushions afterward somehow tonight….

  • Eggnog Frosting

    Eggnog Frosting brings holiday bakery vibes without requiring festive chaos or matching pajamas. My husband heaps it onto everything. My kid treats every cupcake like treasure. I simply mix and smile. The creamy spice and rich flavor feel special enough for celebrations yet easy enough for ordinary afternoons too. This frosting combines smooth texture with…

  • Chocolate Covered Strawberry Cake Recipe

    Chocolate covered strawberry cake sounds romantic, but it demands real effort. You melt chocolate, slice berries, and juggle layers like a multitasking queen. It gets messy. It’s worth it. Expect rich flavor and dramatic slices. Grab your tools, lean into the chaos, and create a cake that absolutely steals attention today. This chocolate covered strawberry…

Leave a Reply

Your email address will not be published. Required fields are marked *

Recipe Rating