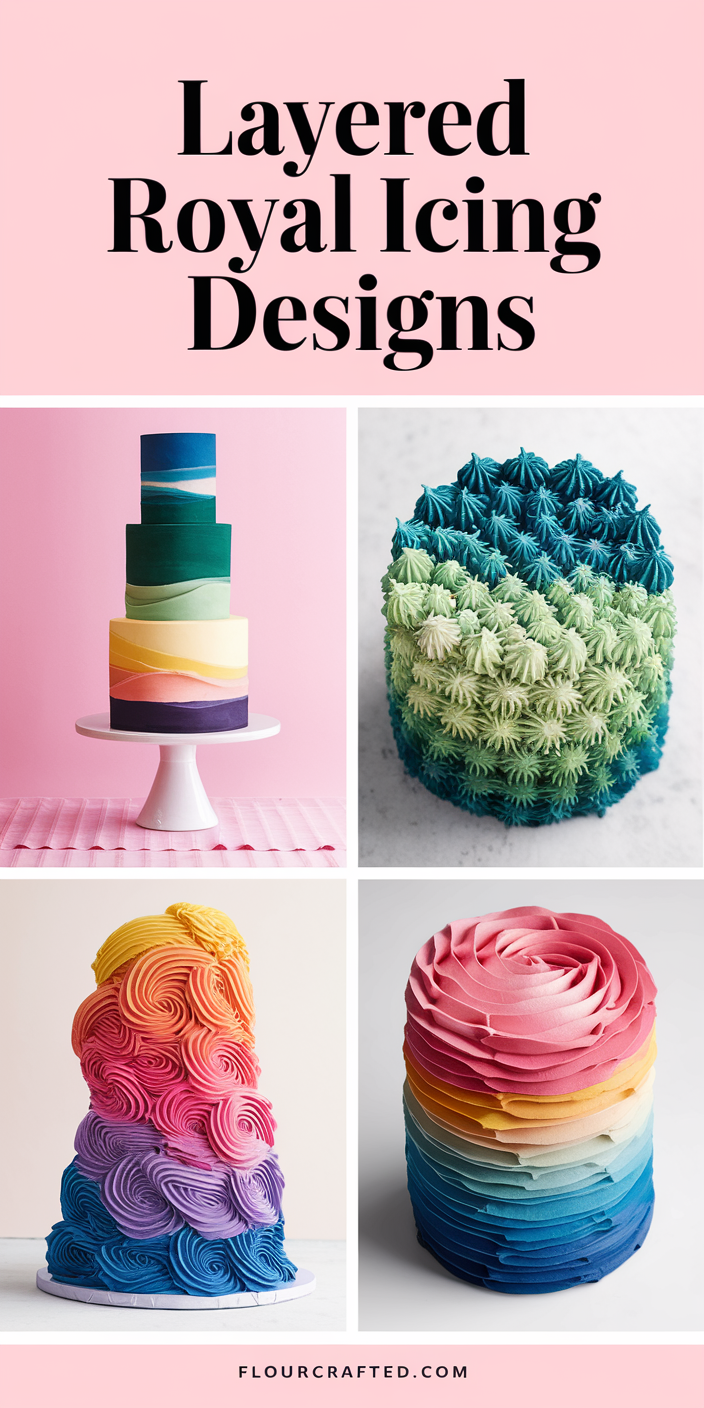
Layered Royal Icing Designs
Layered royal icing designs look wonderfully complicated, which is great because nobody needs to know they’re manageable. I build cookies one step at a time. My husband admires the finished masterpiece. My child requests extra colors immediately. These techniques create depth, dimension, and bakery-style results without requiring superhuman decorating talent.
Layered royal icing designs use multiple icing stages to create raised details, texture, and visual interest. By allowing sections to dry between layers, decorators achieve professional effects with simple tools. This method works for themed cookies, holiday treats, and gifts while keeping designs crisp, colorful, and beautifully defined.

Layered Royal Icing Designs
Create elegant layered royal icing cookies with dimension, texture, and decorative depth. This technique uses multiple icing applications to achieve professional-looking results suitable for celebrations and special occasions.
Ingredients
Equipment
Method
- Bake sugar cookies until lightly golden and cool completely before decorating.
- Prepare royal icing and divide it into bowls for different colors and consistencies.
- Outline and flood cookies with a smooth base layer, then allow it to dry completely.
- Pipe secondary decorative elements onto the dried base to create raised details.
- Allow each layer to set before adding another level of texture or decoration.
- Continue building dimension with borders, flowers, lettering, or patterned accents.
- Let the finished cookies dry thoroughly before stacking, packaging, or serving.
Notes
For softer cookies, reduce baking time slightly. For crispier cookies, bake one to two minutes longer. Use thicker icing for raised decorations and thinner icing for flooding. Freeze undecorated cookies in airtight containers for up to three months. Handle layered cookies carefully until every level has dried completely. Customize designs with seasonal colors, monograms, florals, or themed patterns. Store decorated cookies in airtight containers at room temperature for best texture and appearance.