Simple Jam Tart Recipe
This simple jam tart saves afternoons when everyone suddenly demands homemade dessert without warning again somehow. My husband slices giant pieces like portion control personally insulted him after work today. Meanwhile, my picky child magically approves fruit whenever buttery crust and sticky jam appear together. Sweet filling, crisp pastry, and minimal stress deserve serious appreciation daily.
This jam tart bakes buttery crisp layers with sweet fruity filling perfect for cozy desserts or casual gatherings Use strawberry raspberry or apricot jam depending on family favorites Add chopped nuts or citrus zest for extra flavor Freeze cooled slices individually because unexpected dessert cravings always appear dramatically after bedtime around busy households lately.
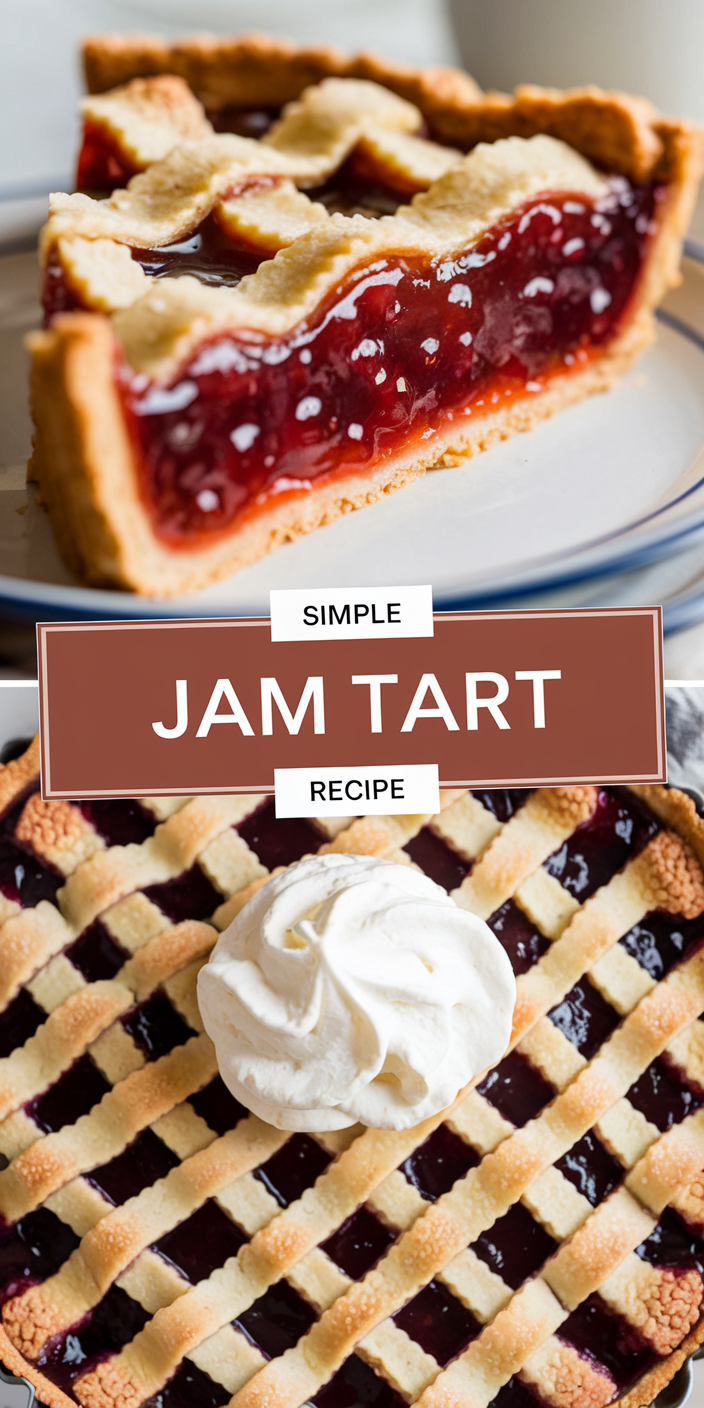

Simple Jam Tart Recipe
Ingredients
Equipment
Method
- Preheat oven and grease tart pan before preparing buttery pastry dough mixture carefully and evenly.
- Mix flour, sugar, and salt together before cutting cold butter into crumbly texture thoroughly.
- Stir egg and cold water into mixture until soft dough forms without becoming sticky badly.
- Press dough evenly into tart pan creating smooth edges and sturdy pastry base underneath carefully.
- Spread jam evenly across pastry crust adding lemon zest for brighter fruity flavor throughout beautifully.
- Bake tart until crust turns golden crisp and jam bubbles lightly around edges during baking.
- Cool tart completely before slicing because warm jam creates gloriously messy dessert situations instantly everywhere.
- Serve tart slices plain or topped with whipped cream for extra cozy homemade dessert happiness.