Watercolor Cookie Decorating
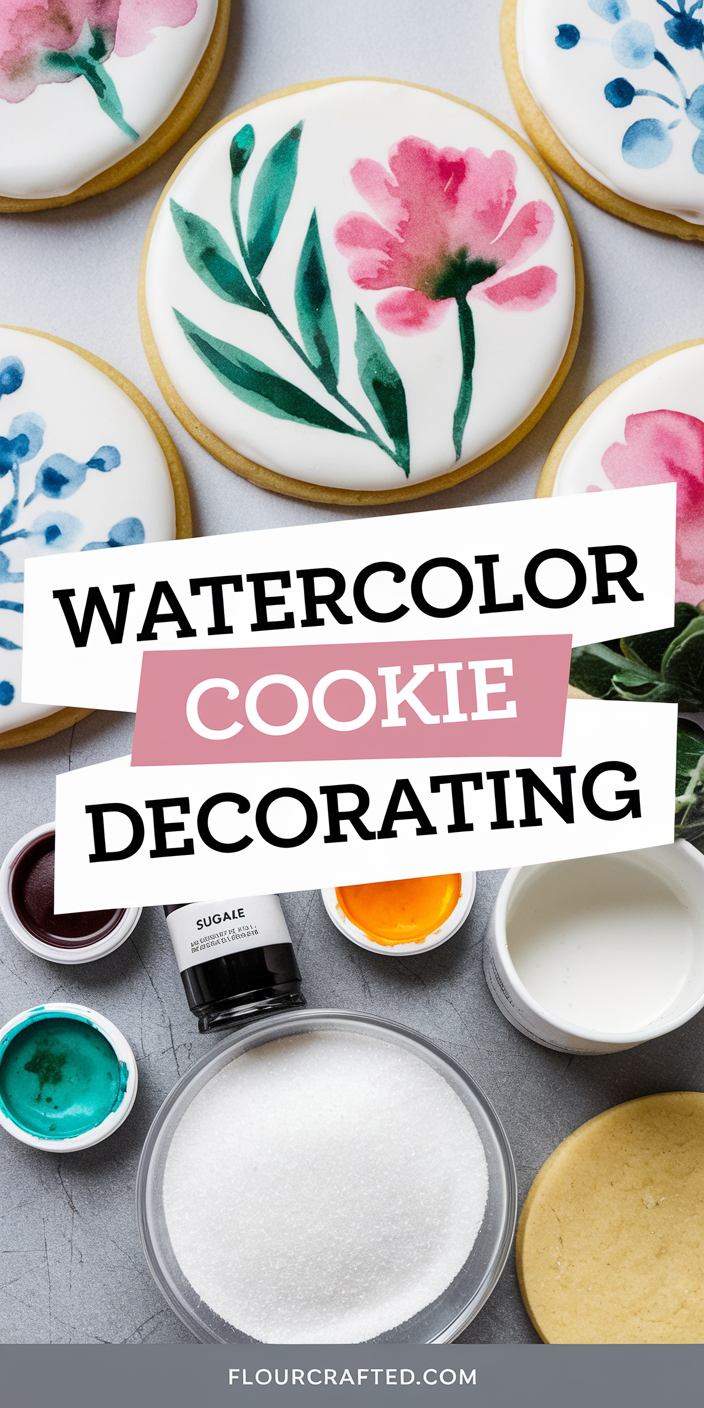
Watercolor cookie decorating looks fancy, yet it feels surprisingly forgiving. Thankfully, the cookies tolerate creative detours better than toddlers tolerate wrong-colored cups. My husband loves the edible artwork. My child loves making colorful masterpieces. I use simple techniques that create beautiful designs without requiring bakery-level patience or perfection at home.
Watercolor cookie decorating combines royal icing with diluted food coloring to create soft, painted effects. This technique delivers artistic cookies perfect for celebrations, gifts, and seasonal treats. Learn how to prepare smooth icing, layer colors, and add details while maintaining clean designs, vibrant shades, and professional-looking results every time.

Watercolor Cookie Decorating
Create beautiful watercolor-style cookies using royal icing and edible colors. This decorating method produces soft blended effects and artistic designs that look impressive while remaining beginner-friendly.
Ingredients
Equipment
Method
- Bake sugar cookies until lightly golden and cool completely before decorating.
- Mix royal icing until smooth and glossy, then flood each cookie with an even layer.
- Allow the icing to dry completely to create a firm painting surface.
- Mix gel food coloring with small amounts of clear extract in separate bowls.
- Use food-safe brushes to paint soft washes of color across the cookie surface.
- Layer shades gradually, blending edges for a watercolor effect and artistic depth.
- Let decorations dry fully before packaging, stacking, or serving.
Notes
For softer cookies, slightly reduce baking time. For crispier cookies, bake a minute or two longer. Ensure royal icing dries completely before painting to prevent smudging. Freeze undecorated cookies in airtight containers for up to three months. Handle decorated cookies carefully to preserve painted details. Customize designs with seasonal colors, floral themes, or abstract patterns. Store finished cookies in airtight containers at room temperature away from direct sunlight.