low carb cauliflower recipes
Cauliflower cheese makes vegetables feel like comfort food, which honestly feels like cheating. I smother tender florets in creamy cheese sauce, then bake until bubbling. My husband wants seconds. My picky child approves. I call that dinner magic, because sometimes cheese deserves credit for keeping everyone happily seated at once.
This cauliflower cheese combines tender florets, creamy cheddar sauce, and a golden baked topping. Parboil carefully so the cauliflower stays firm, then coat evenly with sauce. Add breadcrumbs for crunch or mustard for extra flavor. Serve it warm beside roasts, salads, or simple weeknight dinners when vegetables need serious encouragement.
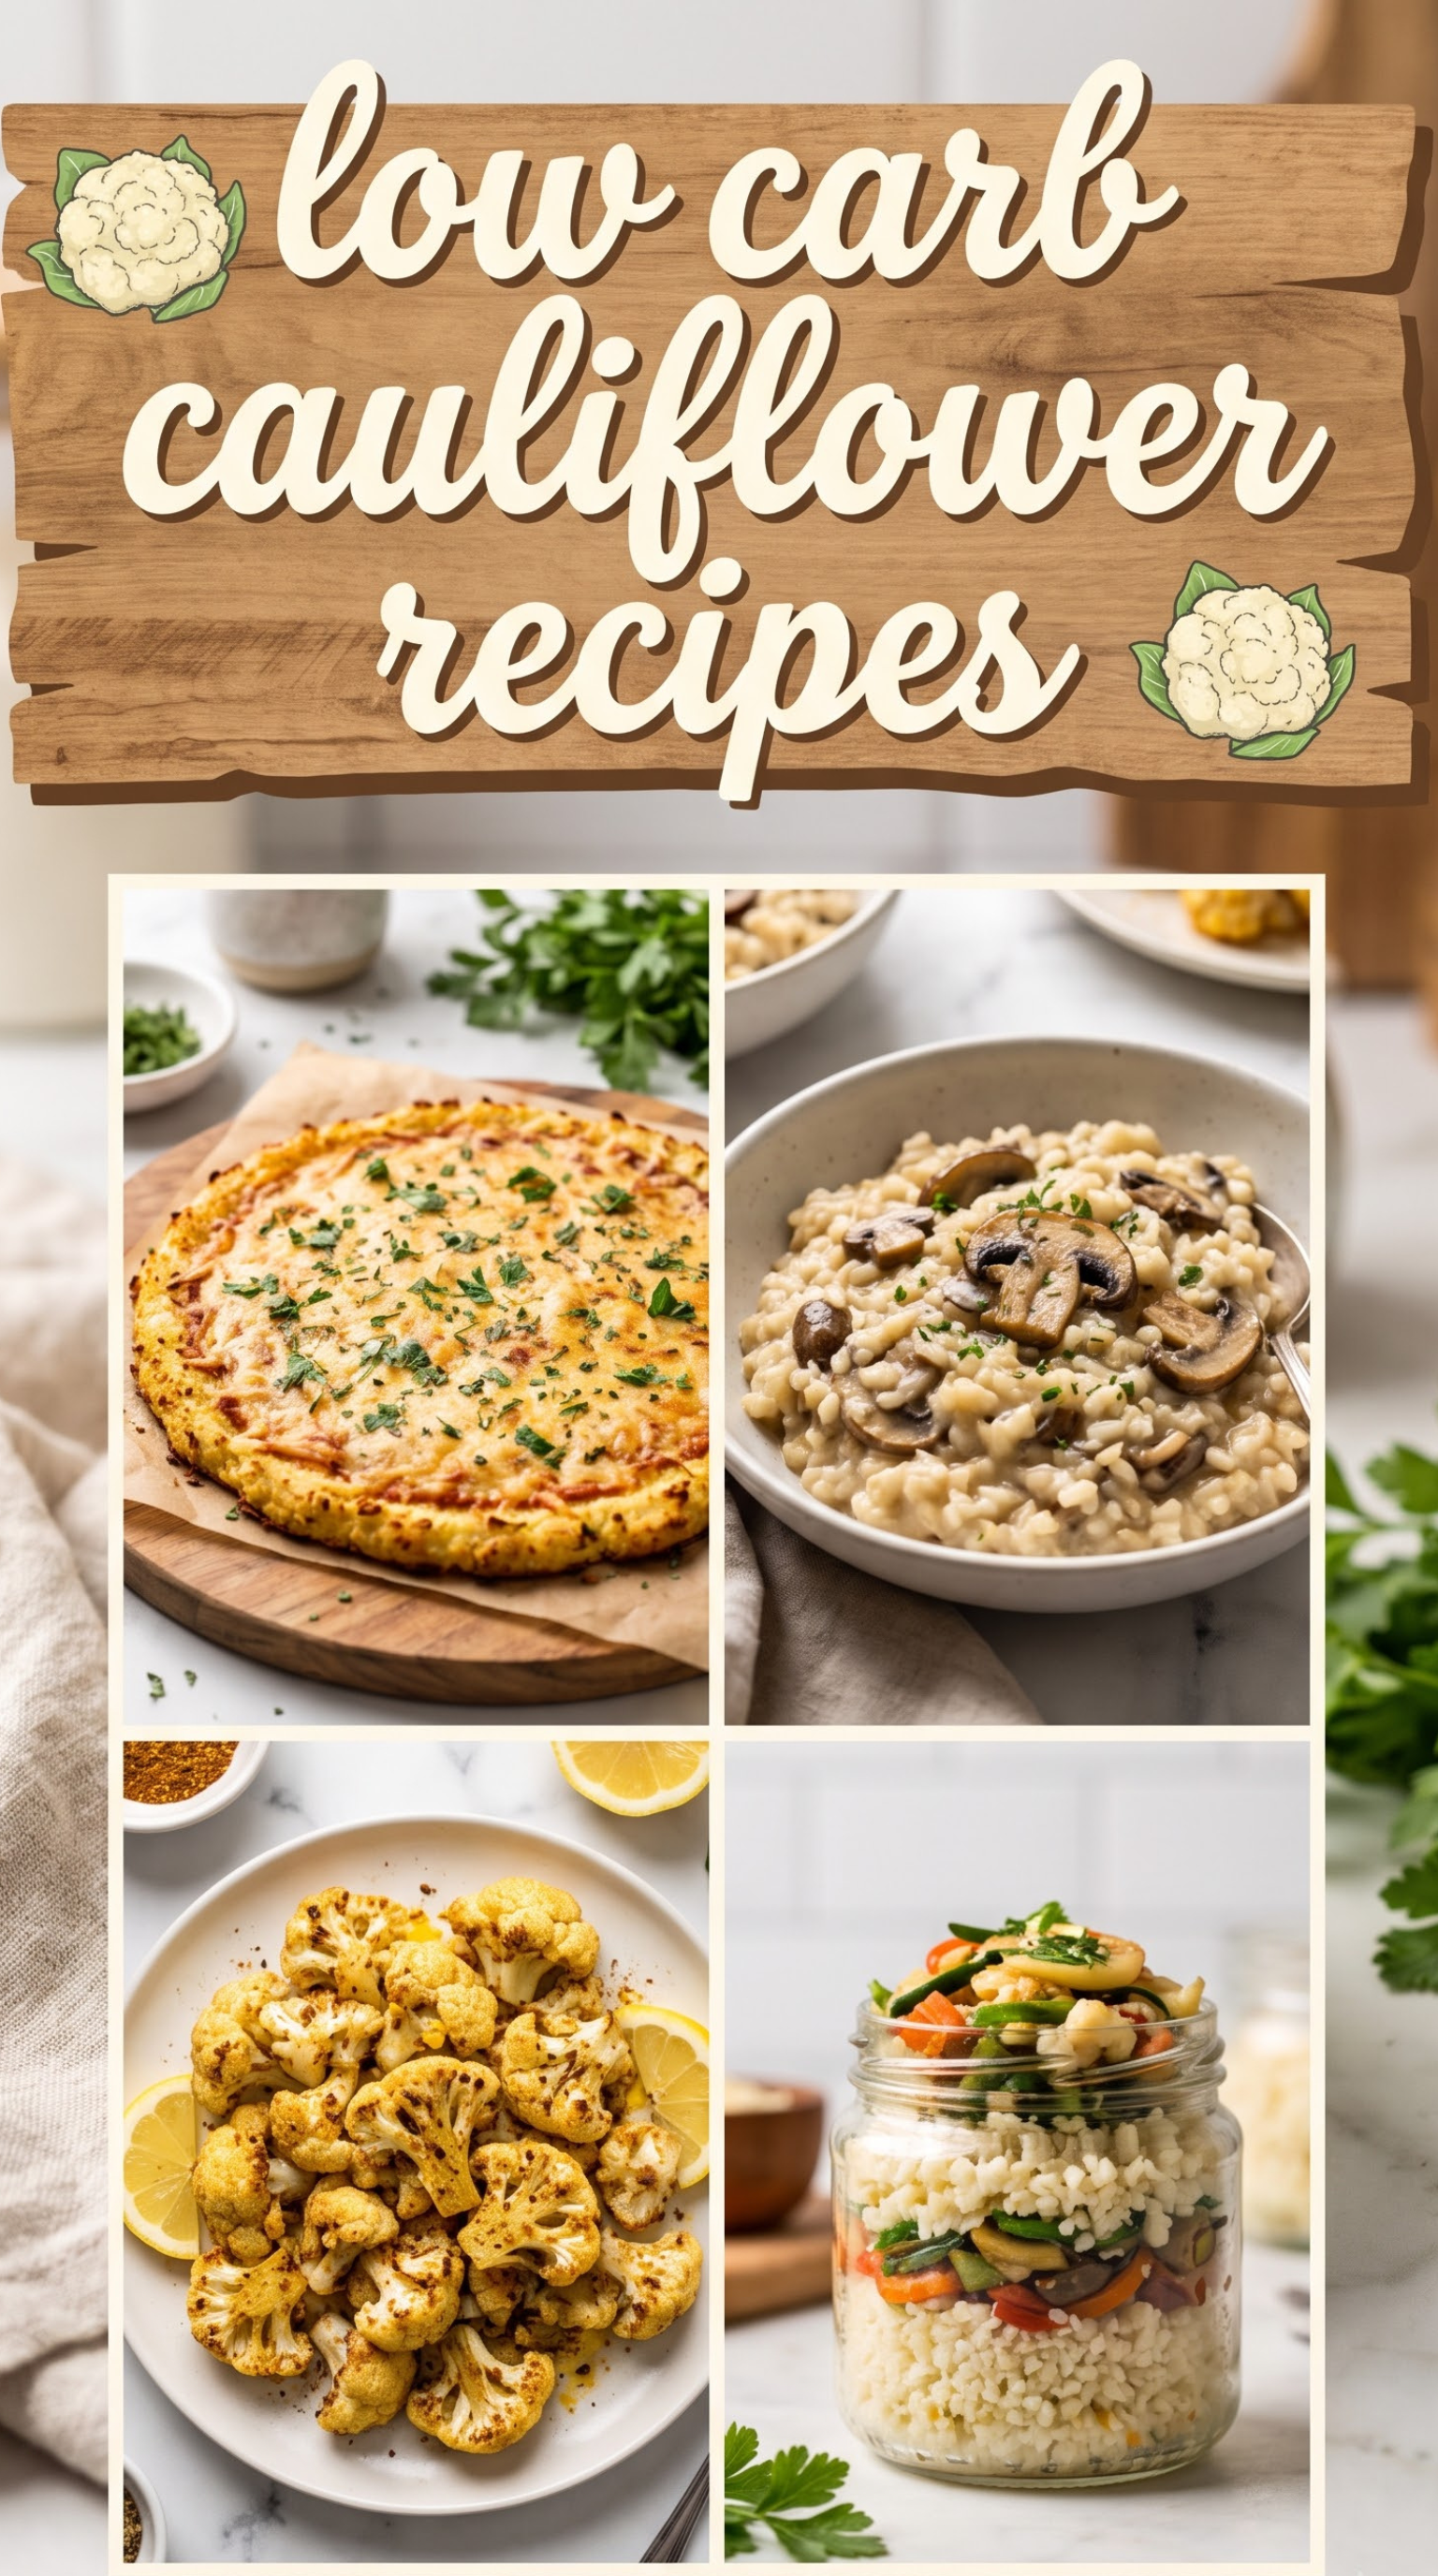

Cauliflower Cheese
Tender cauliflower coated in a rich cheddar cheese sauce and baked until bubbling with a golden, lightly crisp topping. A comforting vegetable side for family dinners.
Ingredients
Equipment
Method
- Preheat the oven to 190°C (375°F). Lightly grease a baking dish so the finished cauliflower releases easily.
- Bring a large pot of salted water to a boil. Add the cauliflower and cook for 4 to 5 minutes until just tender but still firm.
- Drain the cauliflower thoroughly and let it steam-dry for several minutes. Removing excess water keeps the cheese sauce creamy instead of watery.
- Melt the butter in a medium saucepan over medium-low heat. Whisk in the flour and cook for 1 minute until smooth and pale.
- Gradually whisk in the warm milk. Cook for 3 to 5 minutes, stirring constantly, until the sauce thickens enough to coat the back of a spoon.
- Lower the heat and add cheddar and Gruyere gradually. Stir until the cheeses melt into a smooth, glossy sauce.
- Stir in Dijon mustard, salt, black pepper, and garlic powder. Taste and adjust the seasoning before combining the sauce with the cauliflower.
- Arrange the drained cauliflower in the prepared baking dish. Pour the cheese sauce evenly over the florets and gently fold once to coat.
- Mix the breadcrumbs and Parmesan, then scatter the topping evenly across the surface. Keep the layer light for a crisp finish.
- Bake for 20 minutes until the sauce bubbles around the edges. Broil for 1 to 2 minutes if needed to deepen the golden color.
- Rest the dish for 5 to 10 minutes before serving. The sauce should thicken slightly while the cauliflower remains tender and the topping stays crisp.
- Garnish with parsley if using and serve warm alongside roast vegetables, salads, grilled foods, or crusty bread.
Notes
For the best texture, parboil the cauliflower only until barely tender and drain it very well. For a softer finish, cook the florets slightly longer before baking. For a crispier topping, use fresh breadcrumbs and broil briefly at the end, watching closely. Add the sauce gently during assembly so the florets stay intact. Customize with smoked paprika, nutmeg, cayenne, roasted garlic, thyme, chives, blue cheese, or mature cheddar. Assemble the dish up to 24 hours ahead, cover, and refrigerate before baking. Add a few extra minutes when baking from cold. Freeze cooled leftovers in an airtight freezer-safe container for up to 2 months, although the sauce may separate slightly after thawing. Reheat gently in the oven to restore some texture. Store leftovers refrigerated for up to 3 days.